Thursday, April 9, 2015

Girls Bedroom- Before & After

My nieces room is finally finished. I'm (and she and my sister are) really happy with the end result.

Before- It was a tiny bedroom packed with unwanted furniture and a double bed. The walls were cream with a grouping of large purple hearts??


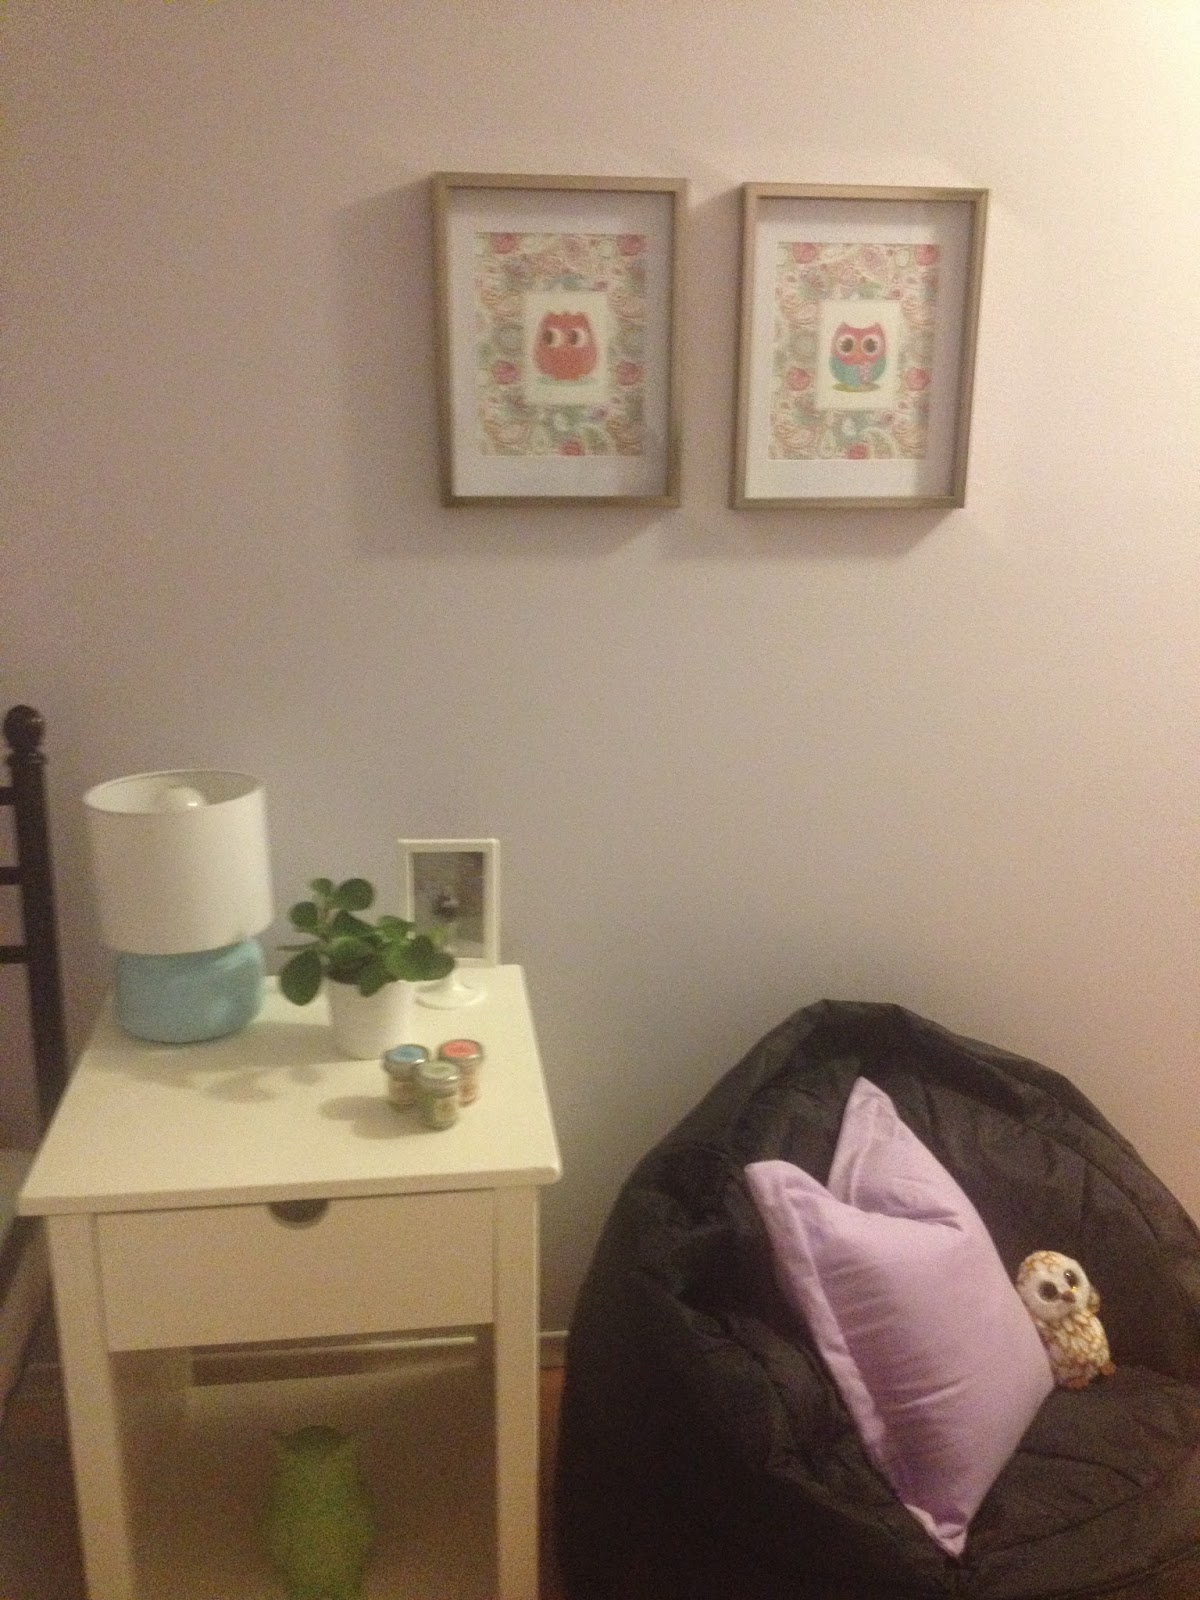
After- So my pictures aren't the best 1) I'm not a great photographer and 2) the photos were taken at night and aren't sufficiently lit. Either way, the walls are lavender. The inspiration for the room colour scheme came from the pastel paisley background of the 2 owl pictures I made. All the furniture was bought via online thrift for really reasonable prices. I painted the dresser and bedside table myself. I made all the art work (including the flag banner) and had it printed at a big box store on heavy weight paper for a small fee. Altogether, I think it looks great and, most importantly, so does she!


Wednesday, April 8, 2015

Re-upholstering A Thrift Find Occasional Chair

So I bought this chair at least 5 years ago. I spray painted it then and ripped off the upholstery (which was not nice) thinking that this would rush me to re-upholster it.


Flash 5 years into the future and I finally just got around to re-upholstering it. Mind you it was still sitting in my living room all this time... and people were sitting on it.

Steps to reupholstering:

1) I created a paper template to use to cut the foam.


2) Cut the fabric to fit over the foam and down to be tacked onto the chair itself.

3) Fold the corners of the fabric around the foam and chair legs.

4) Using two people to hold the fabric tight, tack the fabric in place all around the chair.  


5) Use a glue gun and glue the trim over top of the tack heads.

Finished product- Beautiful! I am actually really impressed with the how it turned out... I was very skeptical in the beginning. It was more work then I had planned but the result was worth it. After everything it cost about ~ $70 to re-upholster.